> ## Documentation Index
> Fetch the complete documentation index at: https://docs.flipsuite.xyz/llms.txt
> Use this file to discover all available pages before exploring further.
# Setup
> Create a new point system and configure it.
> Setting up a point system starts with naming it, defining how members can use it, and activating it for your
> community. This guide walks you through the entire process.
## Step 1 - Open point systems
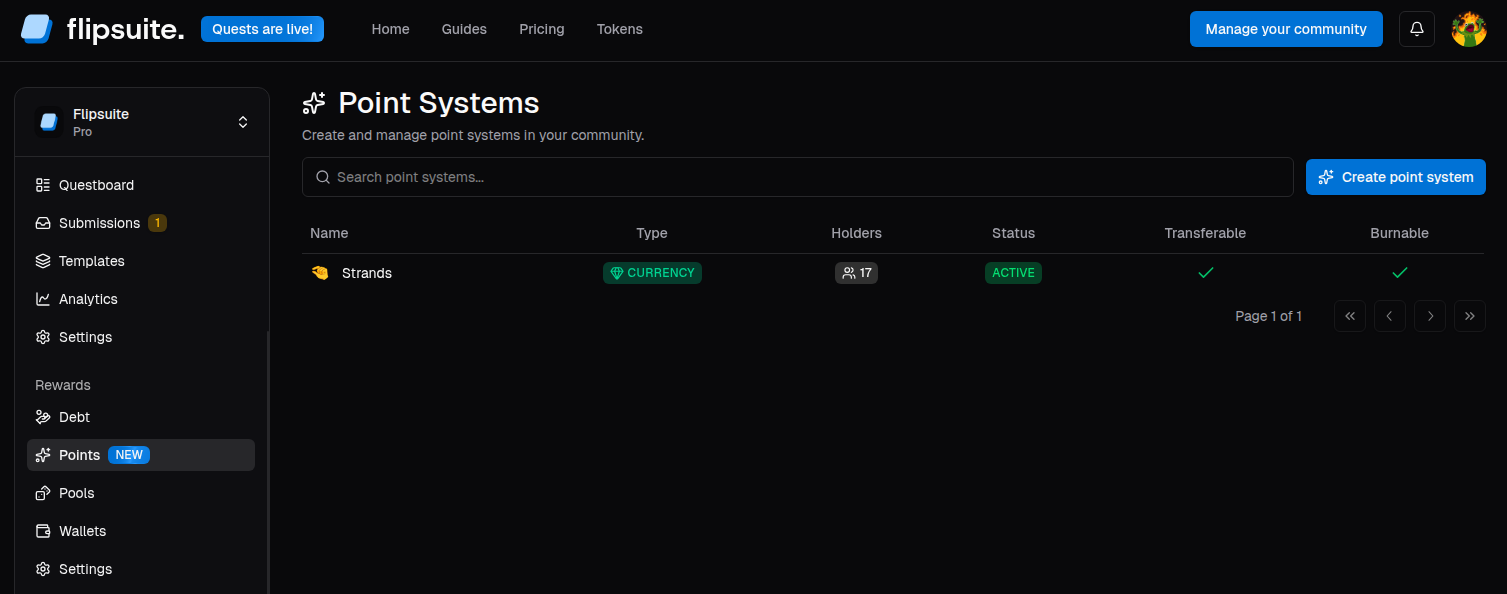
Navigate to the **Points** tab in your community dashboard and click the **Create point system** button. This will
open a form where you can create and configure a brand new point system.
 ## Step 2 - Configure the point system
You'll be asked to provide the following details about the point system:
* **Emoji**: An icon shown next to the point system across all user-facing surfaces.
* **Name**: Point system name, for example `Gems`, `XP`, `Reputation`, or `S1 Prestige`.
* **Description**: A short explanation of what the points are for.
## Step 2 - Configure the point system
You'll be asked to provide the following details about the point system:
* **Emoji**: An icon shown next to the point system across all user-facing surfaces.
* **Name**: Point system name, for example `Gems`, `XP`, `Reputation`, or `S1 Prestige`.
* **Description**: A short explanation of what the points are for.
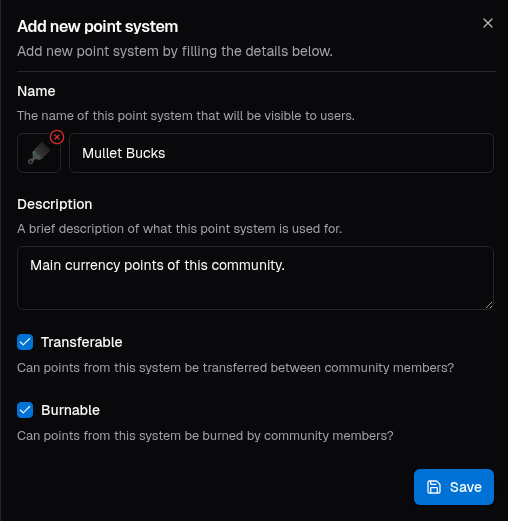 Each point system also has two important behavior flags:
* **Transferable**: Members can move balances between each other.
* **Burnable**: Members can destroy their own points, decreasing the point system's supply.
These settings also determine how the point system is categorized:
* If the system is **transferable** or **burnable**, it is labeled as a **currency**.
* If the system is neither transferable nor burnable, it is labeled as **experience**.
Great for community coins, loyalty systems, and anything members should be able to move or spend.
Great for rank progression, reputation, karma, seasonal XP, or other non-tradeable scores.
Point system category is informational only and does not affect its behavior.
## Step 3 - Activate the point system
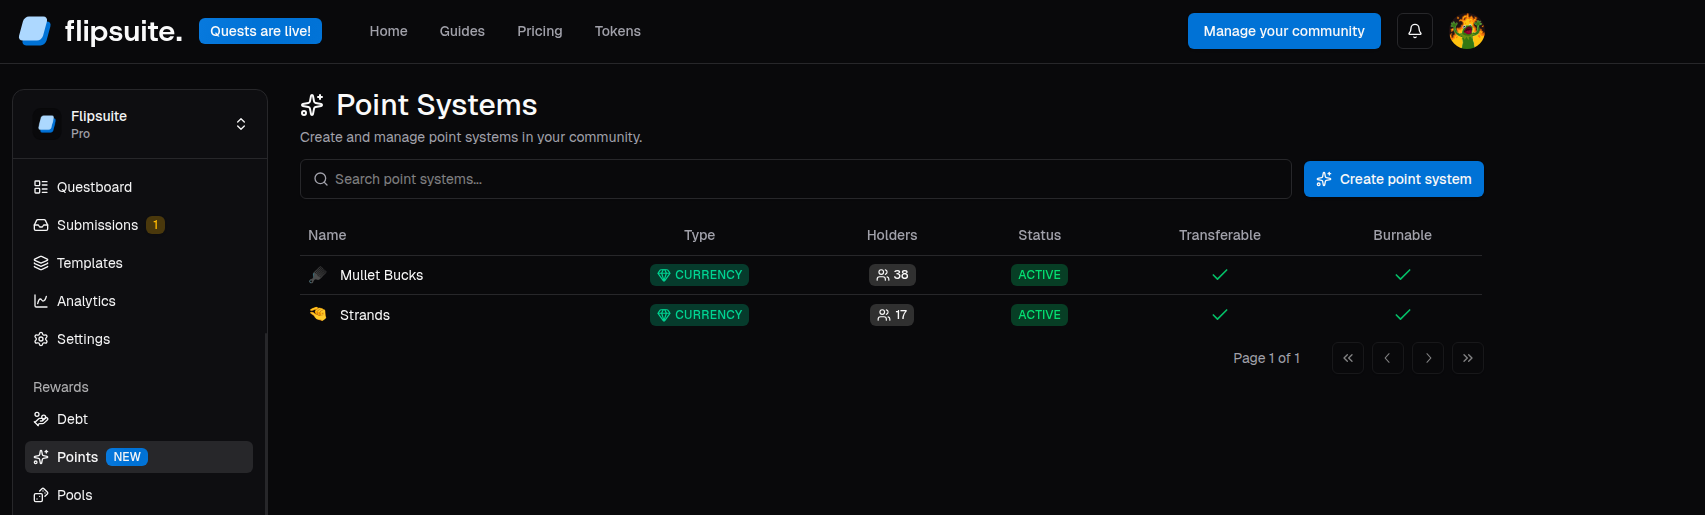
Click **Save** to create the point system. Once created, it will appear in the point systems list together with
its holder count, status, and category.
Each point system also has two important behavior flags:
* **Transferable**: Members can move balances between each other.
* **Burnable**: Members can destroy their own points, decreasing the point system's supply.
These settings also determine how the point system is categorized:
* If the system is **transferable** or **burnable**, it is labeled as a **currency**.
* If the system is neither transferable nor burnable, it is labeled as **experience**.
Great for community coins, loyalty systems, and anything members should be able to move or spend.
Great for rank progression, reputation, karma, seasonal XP, or other non-tradeable scores.
Point system category is informational only and does not affect its behavior.
## Step 3 - Activate the point system
Click **Save** to create the point system. Once created, it will appear in the point systems list together with
its holder count, status, and category.
 ## Step 4 - What's next?
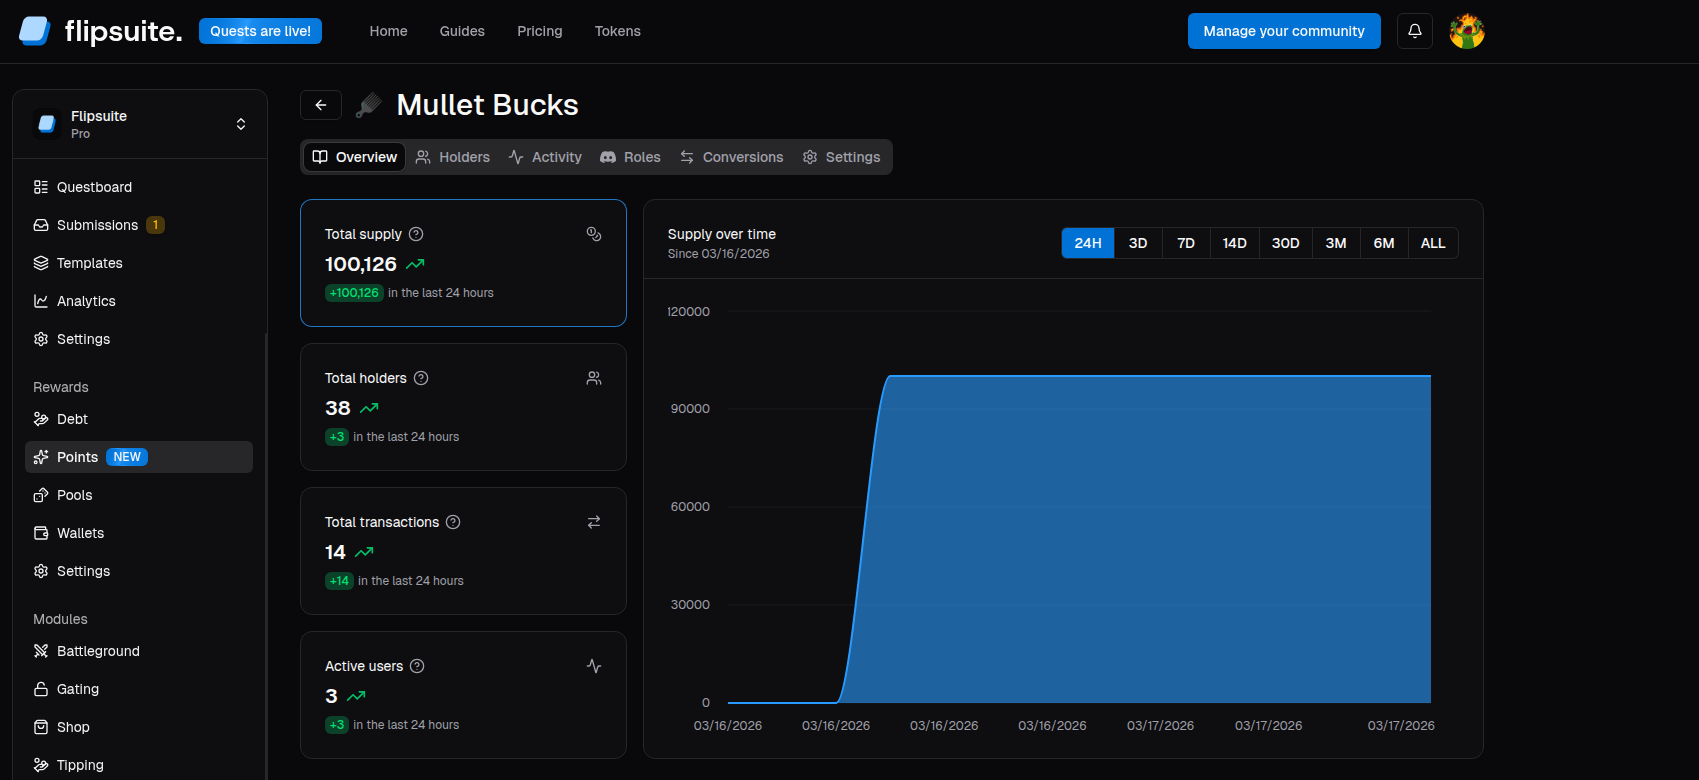
After creation, you can open the point system and go through the following tabs:
* **Holders** to view holders, as well as import point balances from other systems.
* **Activity** to view point system transactions, and credit or debit users manually.
* **Roles** to configure Discord roles granted automatically to users based on their balance.
* **Conversions** to define exchange rates between different point systems.
* **Settings** to access the point system's configuration.
## Step 4 - What's next?
After creation, you can open the point system and go through the following tabs:
* **Holders** to view holders, as well as import point balances from other systems.
* **Activity** to view point system transactions, and credit or debit users manually.
* **Roles** to configure Discord roles granted automatically to users based on their balance.
* **Conversions** to define exchange rates between different point systems.
* **Settings** to access the point system's configuration.