Overview
Teams allow you to share your Flipsuite community configuration with others and assign your team members permissions to keep sensitive data secure.Step 1 - Create team
To create a team, go to the Teams tab in your account settings and click the Create new team button to get started.Step 2 - Invite members
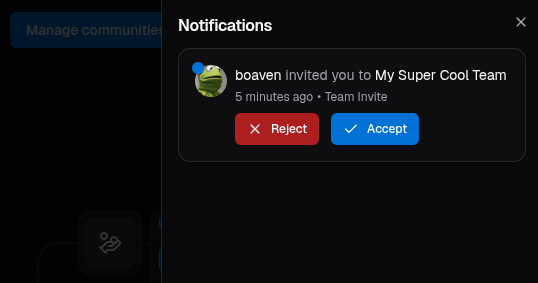
To invite a new member, click the Invite a new member button, enter their Discord ID, and optionally select roles they should receive in your team once the invite is accepted.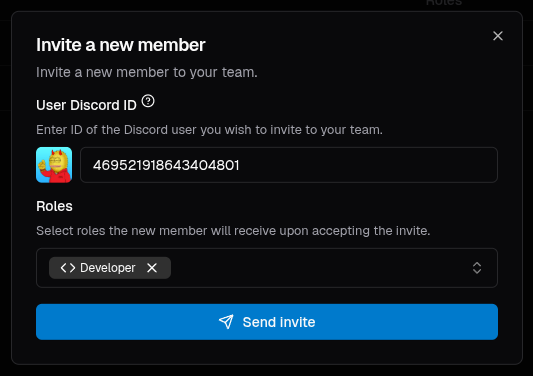
You can get the ID of any Discord user by enabling Developer Mode in Discord settings and right-clicking on
their avatar/username.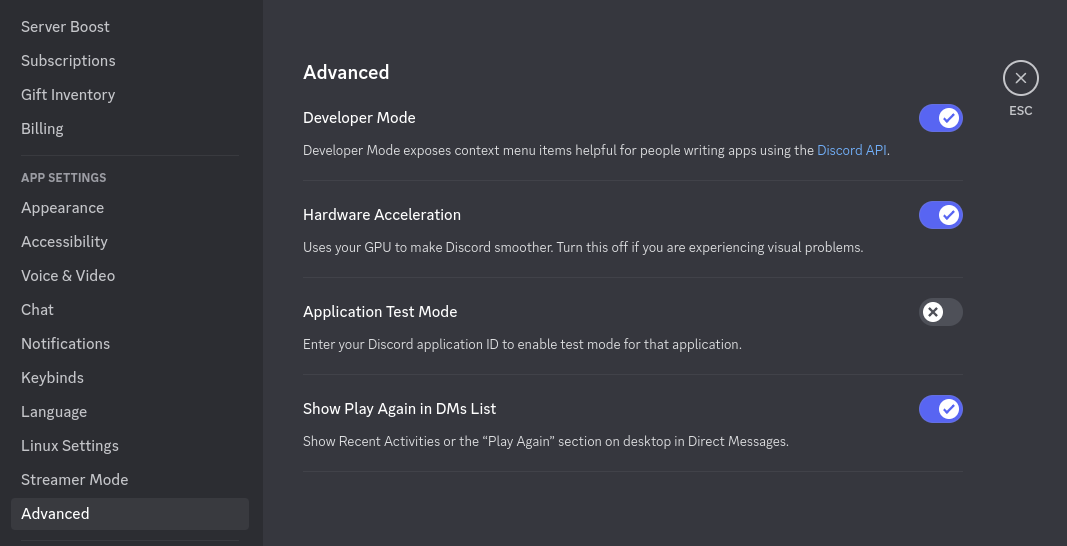
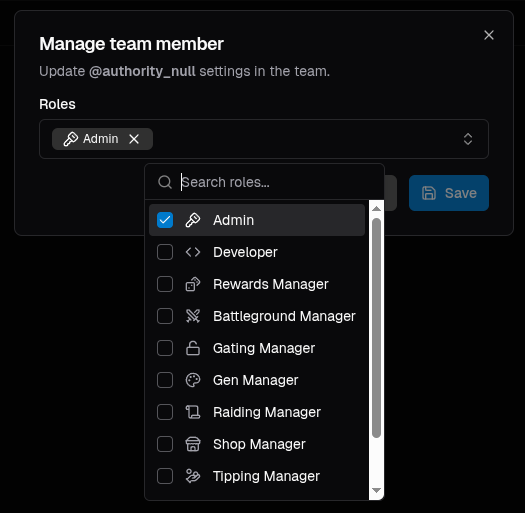
Step 3 - Set roles
You can assign various roles to your team members to give them access to your community. To view all possible roles and what permissions they grant, click the Role cheatsheet button.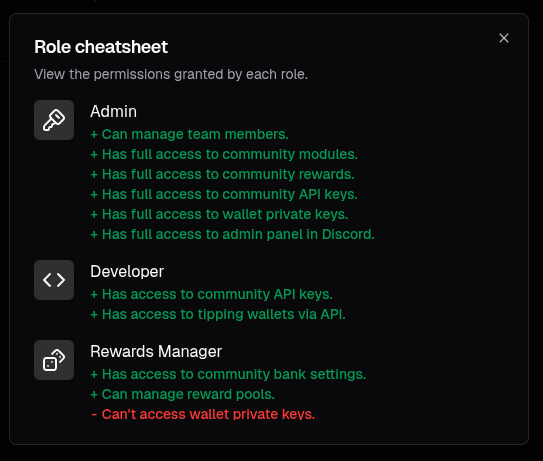
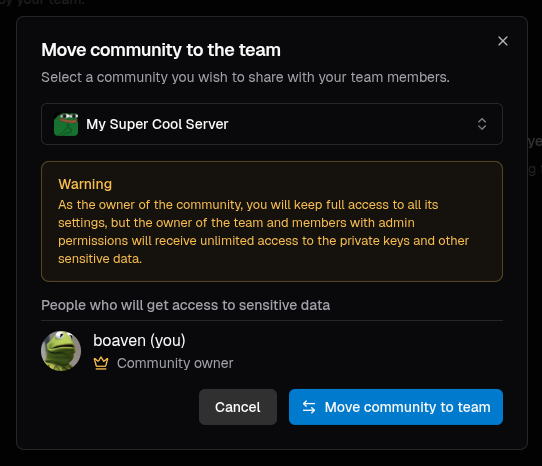
Step 4 - Move community to the team
To move your community to the team, switch to the Communities tab in your team.Before moving your community to the team, you can see which members of a team will get access
to sensitive community data like wallet private keys.