Step 1 - Setting up a treasury wallet
Before creating a shop, you need to set a treasury wallet that will receive tokens used for shop purchases. Go to the Shop tab in your community dashboard and switch to the Wallets tab.
Step 2 - Creating a shop
To create a shop, switch to the Shops tab and click the Create new shop button to get started.Step 3 - Adding role items to the shop
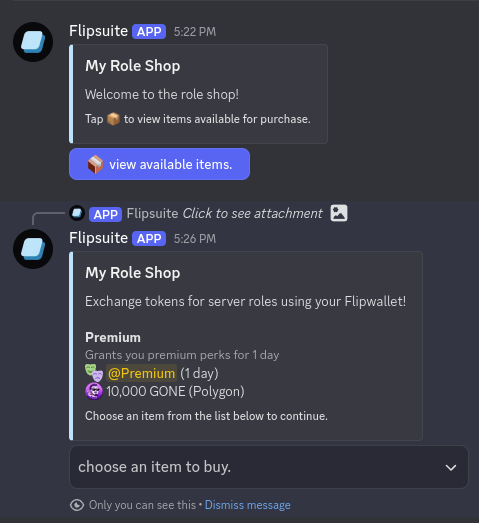
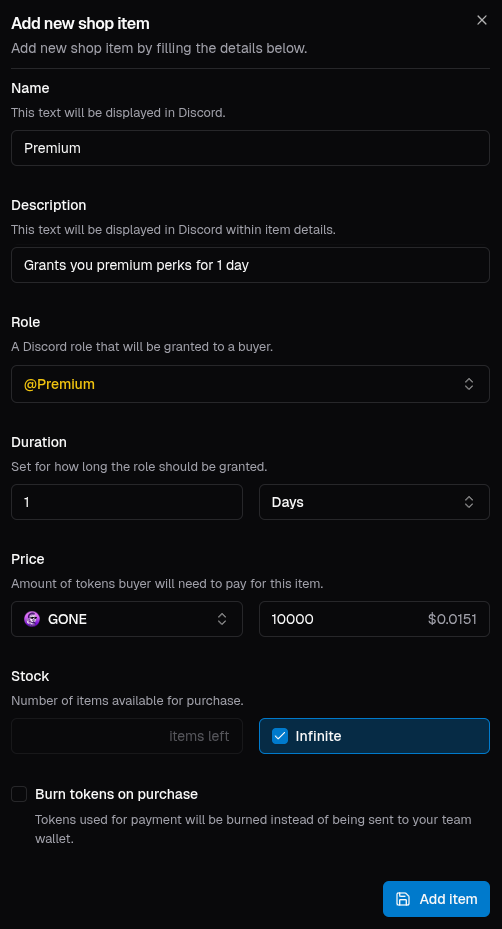
To add a role item to your shop, click the Add shop item button. You’ll be asked to provide the following shop item details:- Item name and description
- Discord role to grant upon purchase and its duration
- Item price in a selected token
- Stock quantity (optional)
- Whether to burn the tokens on purchase (optional)
Flipsuite takes up to 2% fee on every purchase made in your shop that varies based on the plan you’re on.
Check out the pricing for more details.
Flipsuite can only grant and revoke roles from users in your server that are below its role in your server’s
role hierarchy. You can access it by going to the 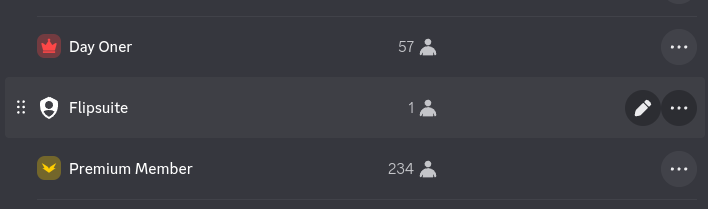
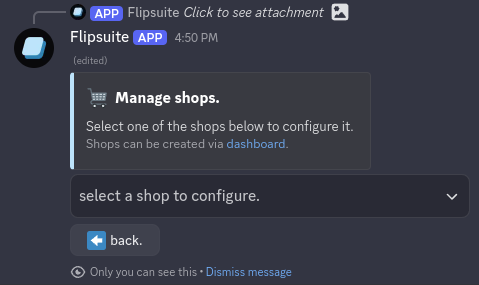
Roles tab in your server settings.Step 4 - Spawning the shop menu
Spawning of the shop menu message in your Discord server is done via admin control panel. Simply go to⚙️ settings > 🛍️ shop > 🛒 shops until you are here: