Before creating rules, move Flippy’s role above every role you want gating to manage.
Flippy can only grant and revoke roles from users in your server that are below its role in your server’s
role hierarchy. You can access it by going to the Roles tab in your server settings.
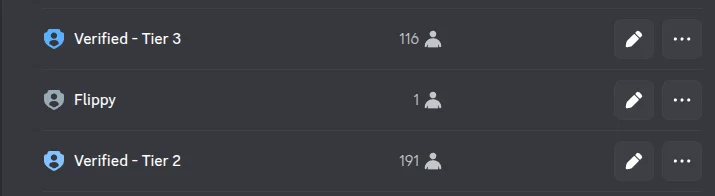
Example server role hierarchy
In the example above, Flippy can only grant the “Verified - Tier 2” role to your community members. It won’t have
access to the “Verified - Tier 3” role because it’s above the bot’s role.
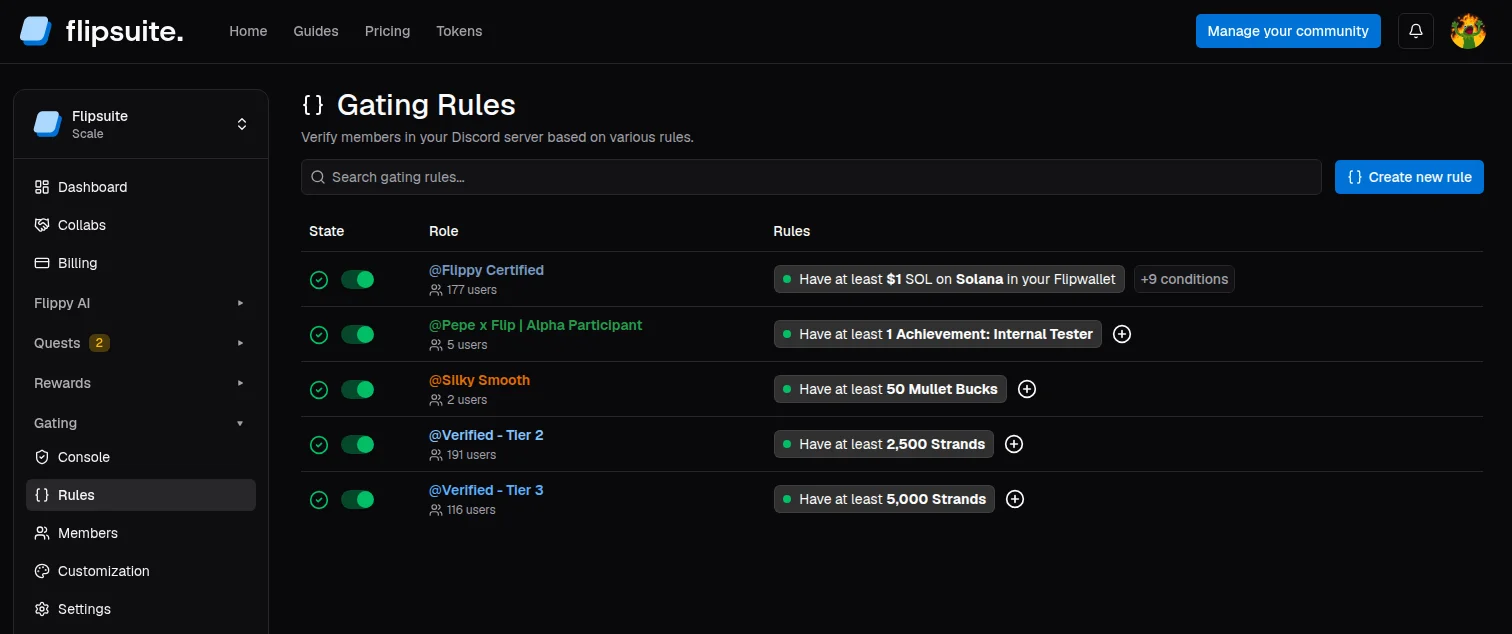
Open Gating in your community dashboard and go to Rules. Here, you can add your first rule.
Gating rules dashboard
Each gating rule has two parts:
Discord role: The role Flipsuite should grant when the rule passes.
Requirement: The condition that must be satisfied by the verifying member.
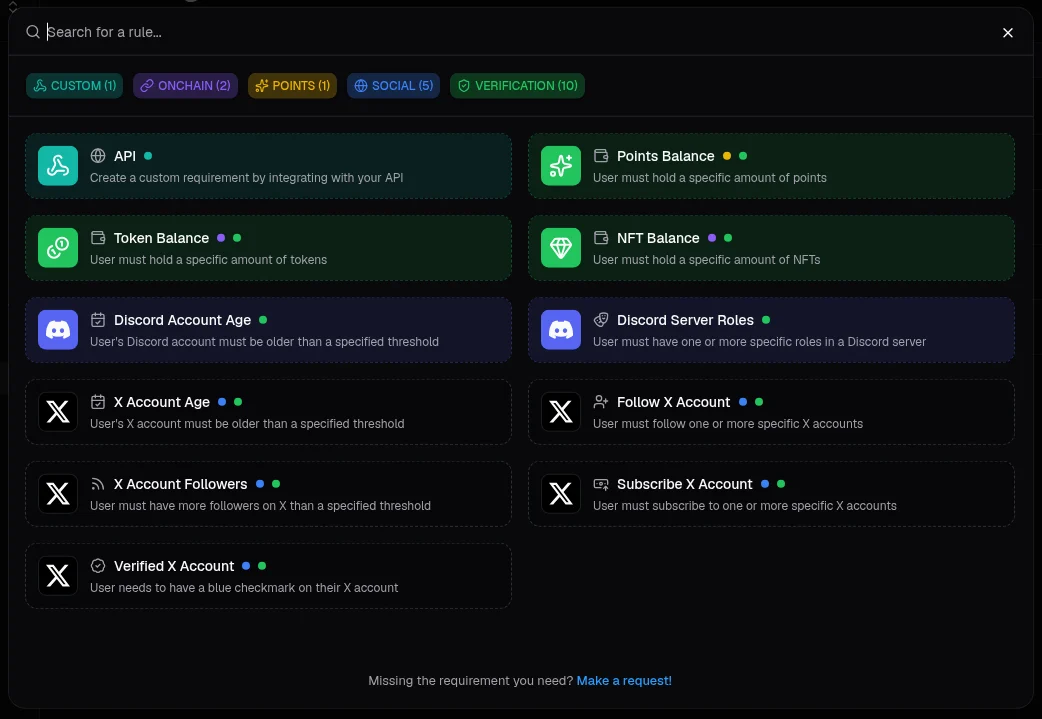
Gating reuses a subset of quest requirements under the hood, so the rule builder will feel familiar if you already use
the Quest Engine. Unlike quests, gating only supports automatically verifiable requirements.
Input and manual-review tasks are not available here yet.
View task library for a full list of available requirement types.
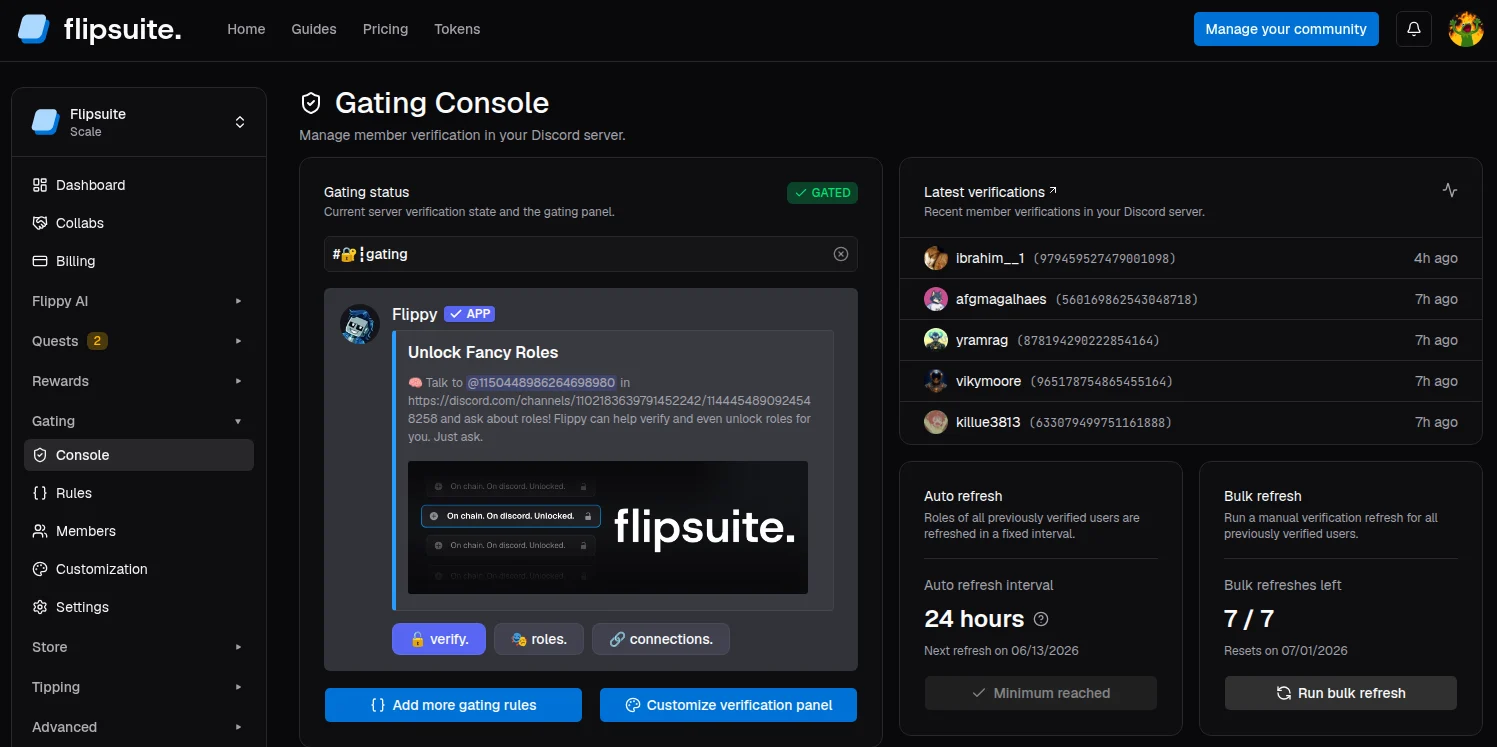
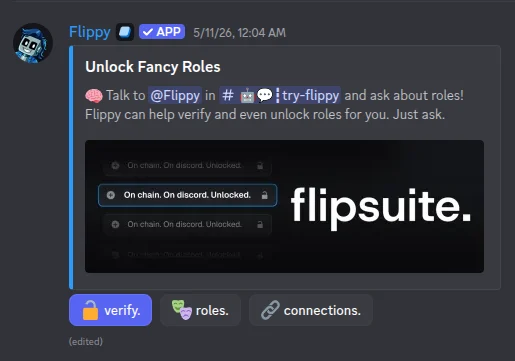
Once you have at least one rule, open Gating > Console and choose a gating panel channel. Flipsuite will
post the verification panel automatically in that channel.
Gating console
After the channel is set members can click verify to verify and unlock roles in your server.