Setting up a storefront starts with creating the storefront itself, then adding items with prices and deliverables. This guide walks through the full dashboard flow.
Step 1 - Create a storefront
Open the Storefronts area in your community dashboard and click Create new storefront.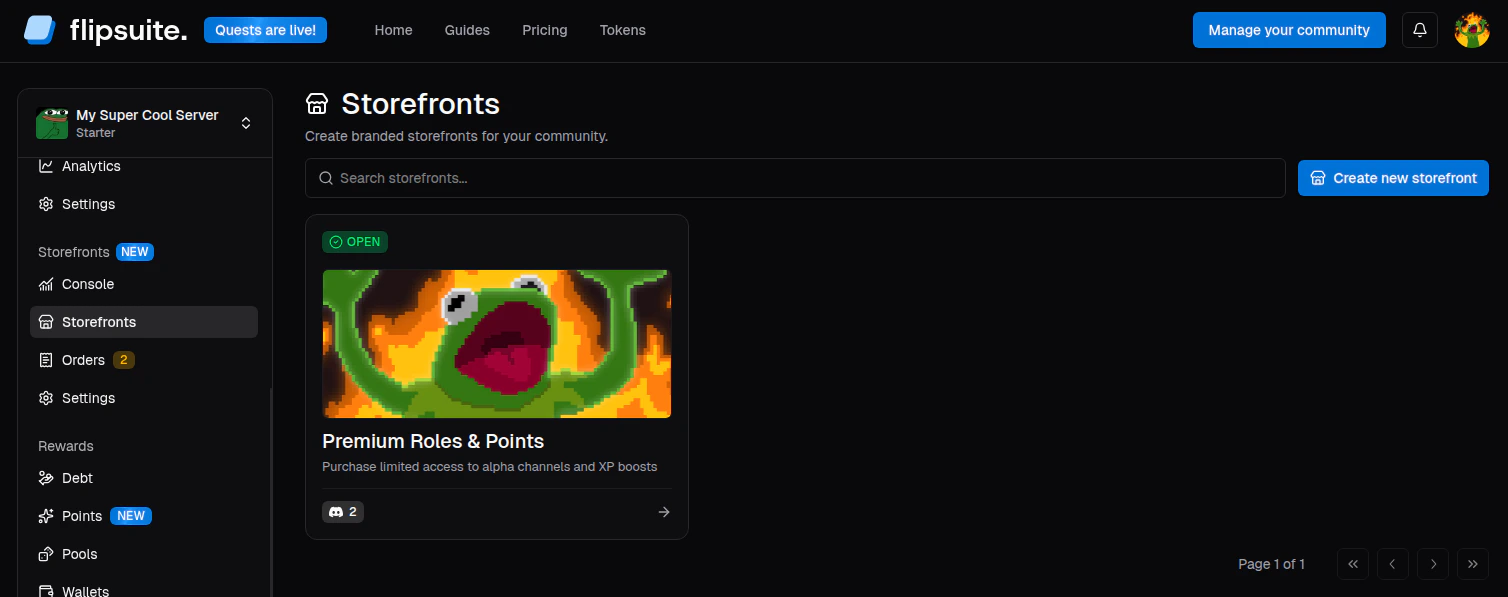
- Name: Public storefront title shown on storefront cards.
- Description: Short summary of what this storefront is for.
- Banner: Optional banner image to give your storefront a unique look.
- Discord channel: Channel where the storefront should be shared after it’s opened.
Step 2 - Add storefront items
After creating the storefront, you will be taken to its Items tab. Click Add new item to create your first item.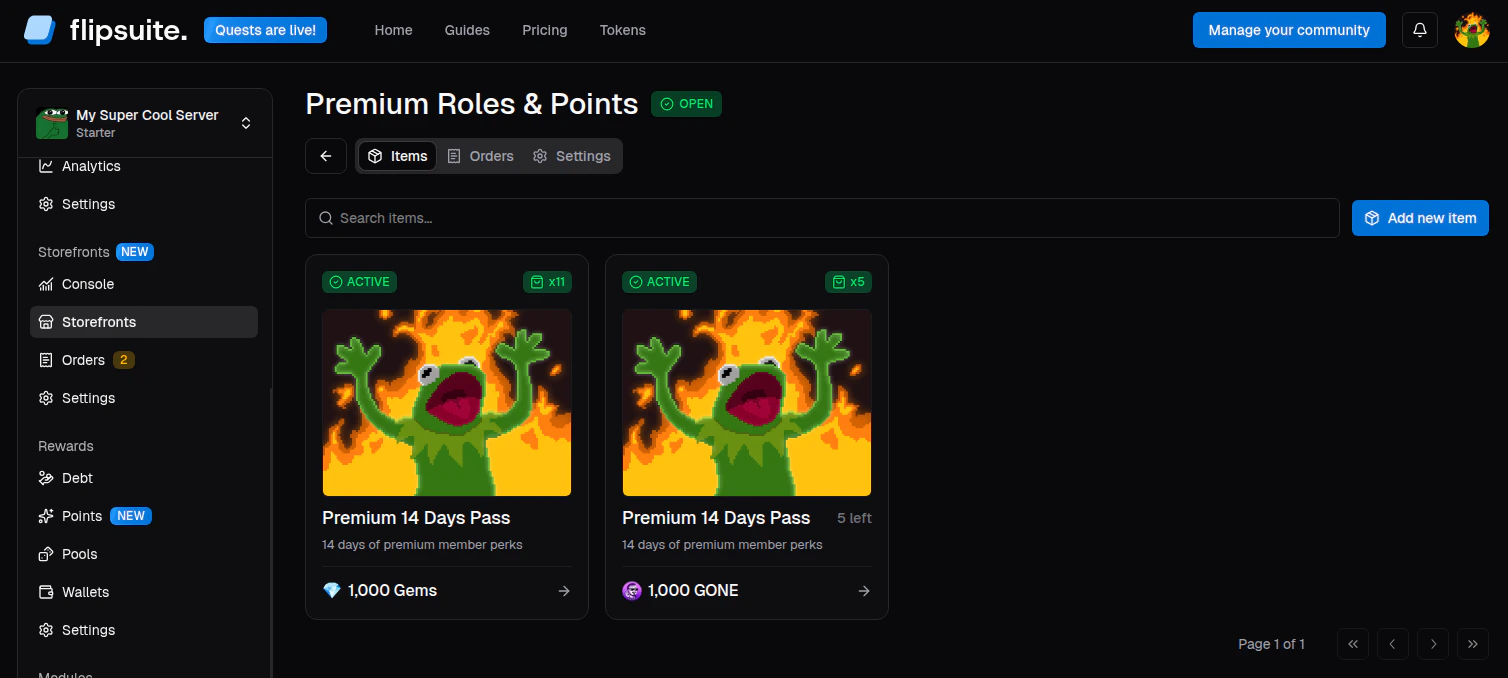
- Name: Public item name shown to buyers.
- Short description: Compact summary shown on item cards.
- Full description: Longer markdown description with extra details or claim instructions.
- Image: Optional item image.
- Stock: Remaining quantity available for purchase. Leave it empty for unlimited stock.
- Limit per user: Optional purchase cap per person.
- Allow gifting: Whether buyers can send the item to another community member.
- Deliverables: Everything the buyer should receive after a successful payment.
- Requirements: Optional eligibility checks or buyer inputs collected during checkout.
- Price: The payment option for the item.
Step 3 - Open the storefront
When your catalog is ready, open the storefront’s Settings tab and update its Visibility:- Yes: Buyers can purchase from it.
- No: The storefront stays visible in the dashboard, but purchases are blocked.

Step 4 - What’s next?
Once the storefront is open, focus on the building blocks around it:Prices
Learn how points and token pricing work in storefront items.
Deliverables
Choose what buyers receive after payment succeeds.
Wallets
Configure where token payments should be sent.
Orders
Track purchases and manage custom item fulfillment.